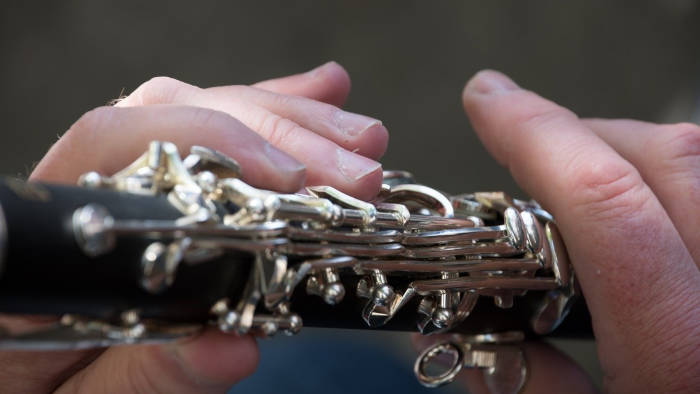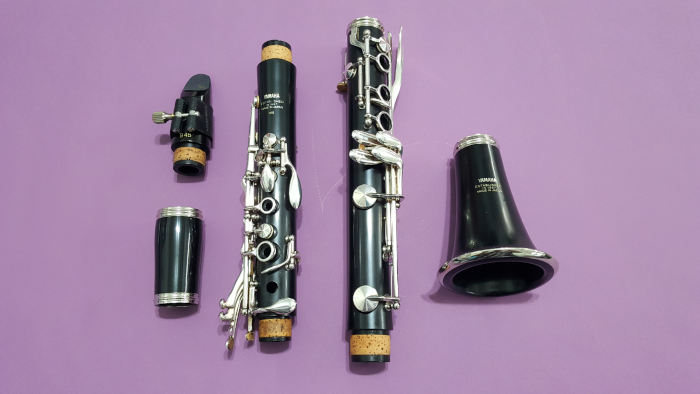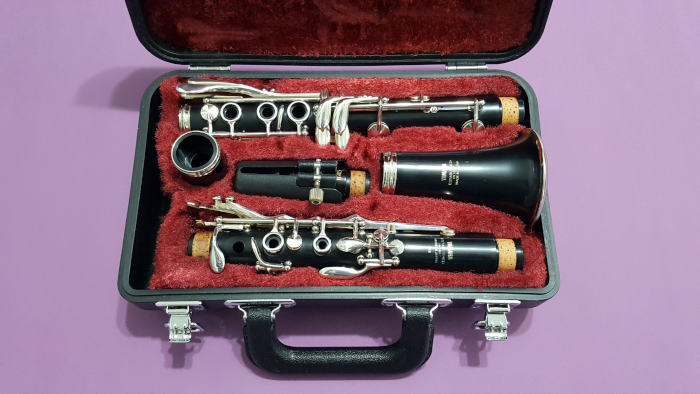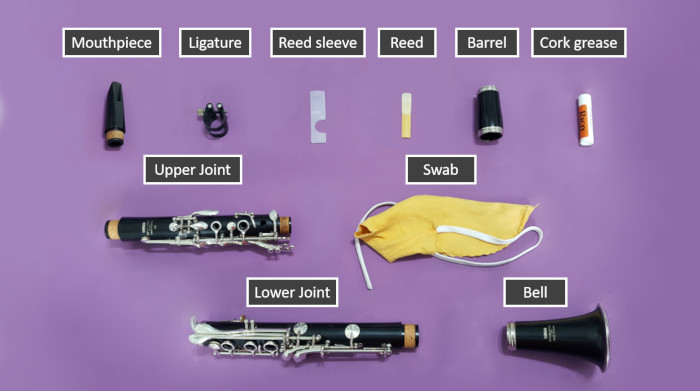
Clarinets are delicate instruments. And handling them improperly can lead to damage. The system of keys that produces the notes needs to be kept intact. You may not be able to play your instrument if you damage a key. And you may need to take your clarinet to a repair shop.
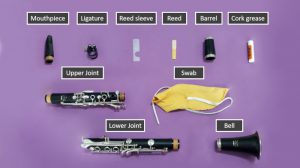
Correctly assembling all the various clarinet parts each time you play is a good way to ensure your instrument lasts a lifetime. That’s why how to properly assemble and disassemble a clarinet is one of the first things new clarinetists learn.
How to assemble a clarinet
You can follow these steps either in the below order or in reverse order.
It’s a good idea to hold your instrument in your lap during this process to limit the risk of damage if it slips from your grasp and falls to the floor.
1. Prepare the reed
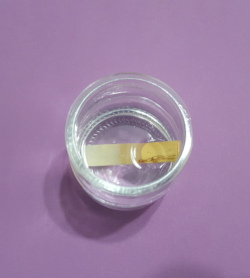
The first step when assembling your clarinet is to get your reed ready. Some players like to wet their reeds simply by holding them in their mouths for several seconds.
Others prefer to soak their reeds in plain water for 10-15 minutes. If you go this route, run your thumb up the cut side of the reed from bottom to top after removing from the water. This will help to seal the cane to give you a better sound.
2. Fasten the reed to the mouthpiece
Fixing your reed too high or low on the mouthpiece can set you up for a squeaky sound.
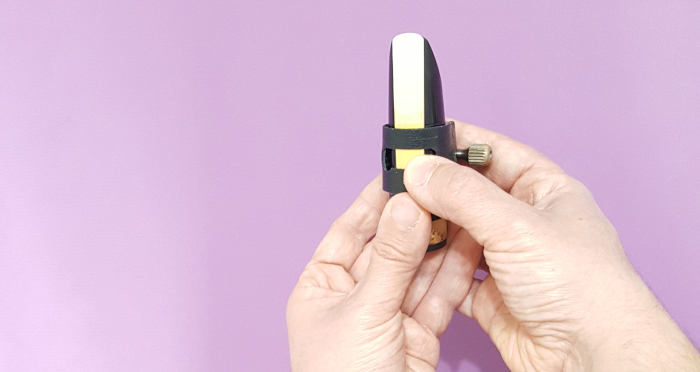
Place the reed with the flat side down on top of the mouthpiece. The mouthpiece should peek out only slightly above the tip of the reed. It may take a few adjustments to get right.
Holding the reed so it doesn’t move around, place the ligature over the tip of the mouthpiece and slide it down to secure the reed in place.
Make sure the ligature is drawn down over the vamp (the carved part of the reed) and down to the bark. The ligature should fit nicely if it’s in the right place.
Tighten the screws firmly but not too tight to avoid damaging your reed or causing a squeaky sound when you play. The reed needs some room to vibrate in order to create the right sound.
3. Grease the tenon corks (optional)
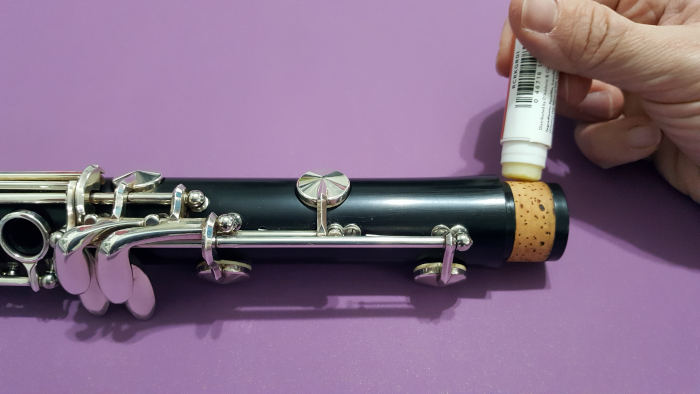
You may want to apply a small amount of grease to the tenon corks before connecting the upper and lower joints. This will help you bring these parts together smoothly without excessive force. Don’t use too much cork grease, or you can damage the corks and cause the joints to slip apart.
4. Connect the mouthpiece and barrel
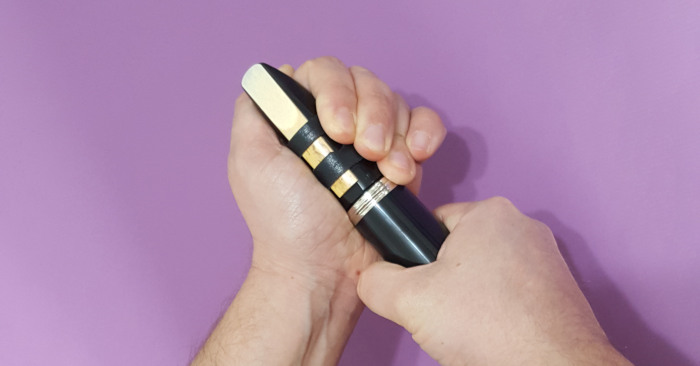
Connect the mouthpiece and barrel. Again, you may need to add a dab of cork grease to the tenon cork at the bottom of the mouthpiece to get these parts sliding smoothly without needing to force them together.
5. Connect the barrel and upper joint
Gently twist the barrel and the upper joint together. The bottom of the reed should be vertically aligned with the register key and thumb tone hole. This will enable you to play with proper form.
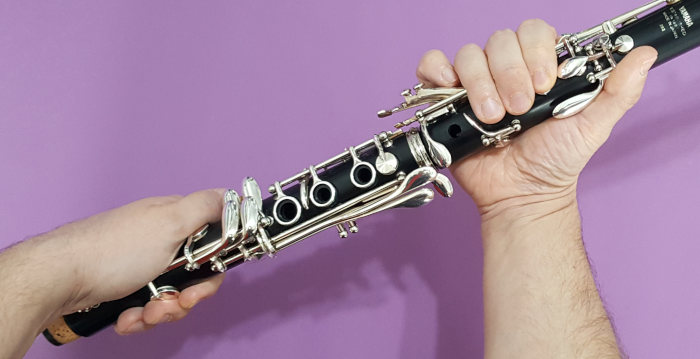
6. Connect the upper and lower joints
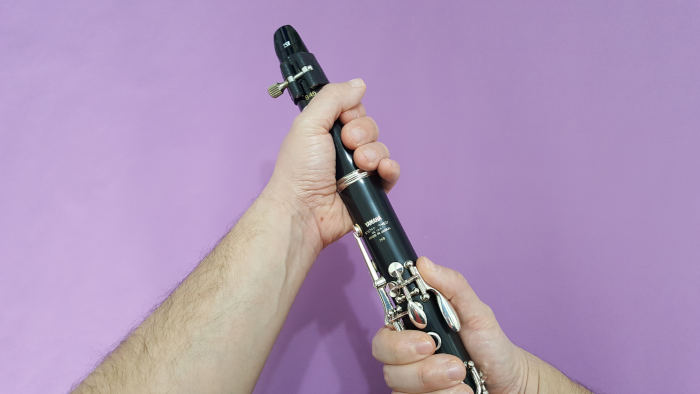
Connecting the upper and lower joints causes music teachers the most headaches when it comes to assembling a clarinet. The bridge key is a vital part that you can easily damage if you’re not careful connecting the parts.
The joints must come together so that the bridge key is aligned between both. Otherwise, you won’t be able to play many notes.
Avoid twisting the clarinet with excessive force or squeezing the other keys too tightly when putting the clarinet together.
7. Put on the bell
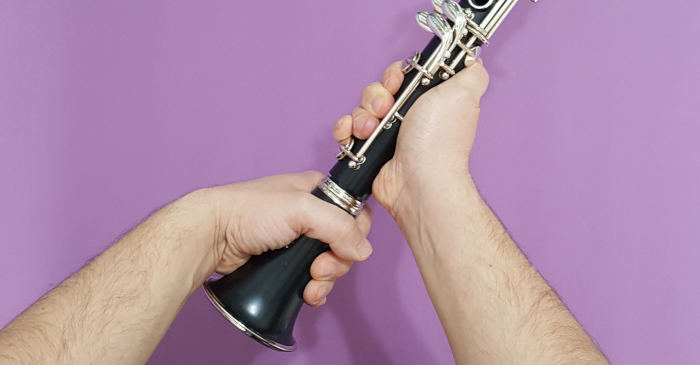
The bell goes on last (or first, if you prefer to start here). It should be easy to put on but may need a small amount of cork grease as well.
How to disassemble a clarinet
Taking your clarinet apart mean mostly just reversing what you did to put it together. But there are some steps where you’ll want to take a moment to clean certain parts of the instrument before stowing them away (related: How to Clean and Maintain Your Clarinet).
1. Remove the ligature and reed
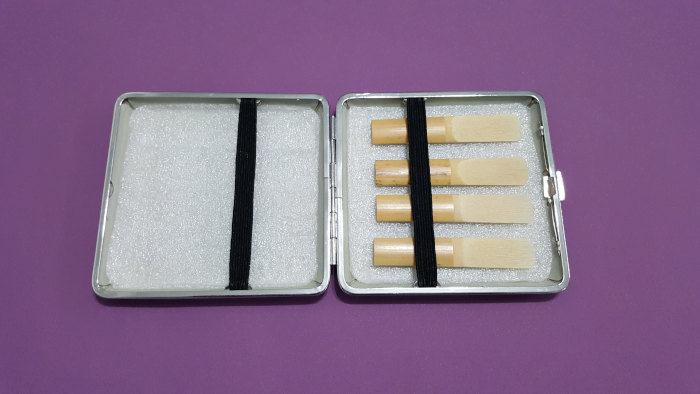
Simply loosen the screws on the ligature when you’re finished playing, slip the ligature off the tip of the mouthpiece and remove the reed. Wipe away any excess moisture from the reed to prevent mildew growth. Then return the reed to its case or sleeve.
2. Remove and clean the mouthpiece
Pull the mouthpiece from the barrel. Clean the mouthpiece using a mouthpiece brush. Or at a minimum, run your cleaning swab through to remove the moisture that accumulates when you play. Wipe away any excess cork grease.
3. Remove and clean the barrel
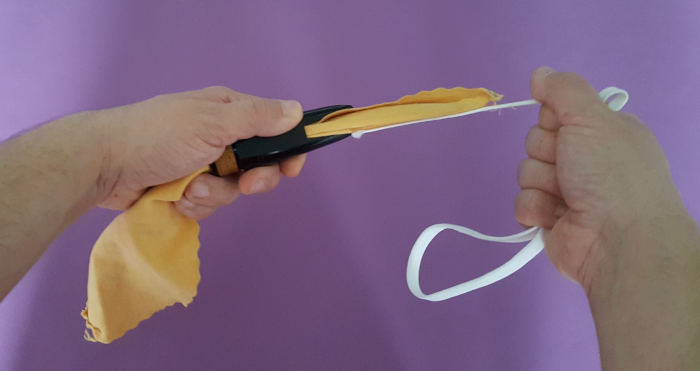
The barrel should easily come off the upper joint without any issues. Run your swab through it to remove any moisture build up.
4. Separate and swab the upper and lower joints
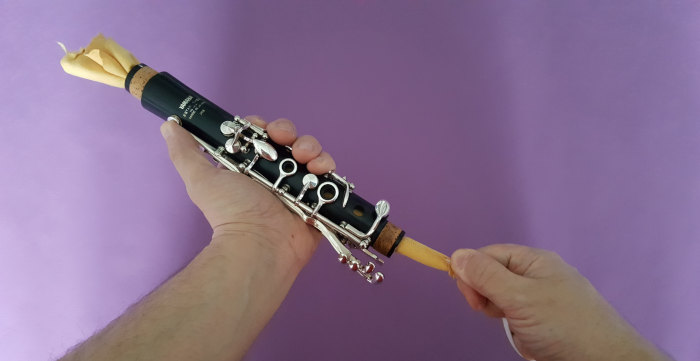
Grip each joint in your hands without squeezing any keys too tightly. Gently twist the instrument apart, making sure the parts don’t fall out of your lap. Dropping one of these joints can lead to expensive repair bills if you’re not careful.
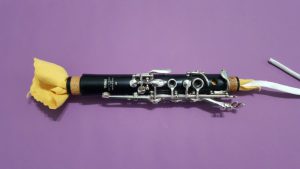
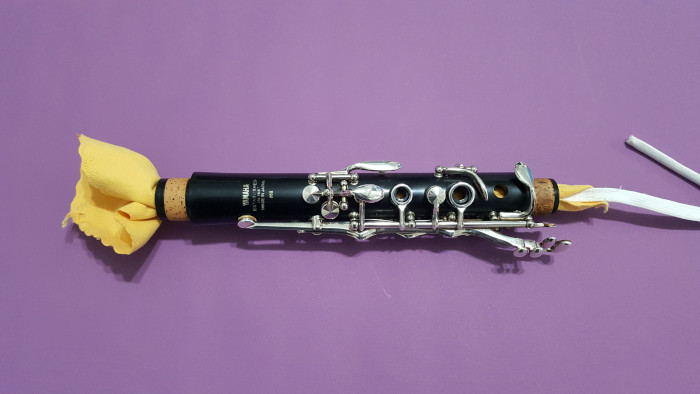
Run the swab through each joint and wipe away any excess cork grease.
5. Remove the bell
The bell is easy to remove. Simply pull it apart from the lower joint.
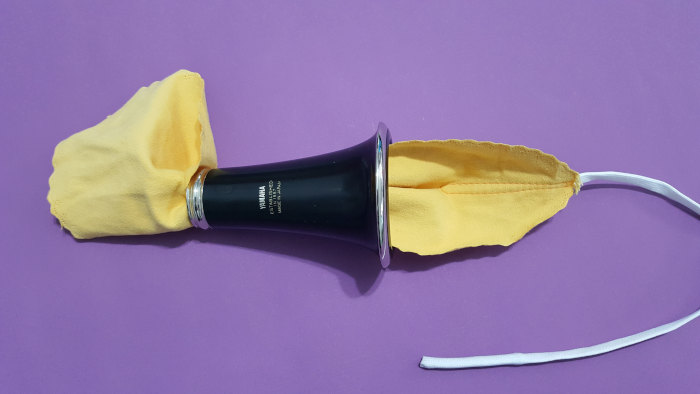
The bell doesn’t tend to collect much moisture because it’s the furthest part from the mouthpiece. But run a swab through it anyway just to be safe.
Mistakes to avoid when handling a clarinet
Parents and teachers of young players tend to be a little nervous when they’re first learning to assemble a clarinet. Adult beginners will have an easier time with these instructions and will be less likely to damage their instrument.
Here are some of the more common mistakes to avoid that can lead to problems:
- Misaligning the bridge key between the upper and lower joints. This will prevent you from reaching all the notes.
- Squeezing the keys too tightly. This is a good way to bend or otherwise damage the keys, which can prevent you from being able to play the effected notes.
- Twisting the instrument too far while taking it apart or putting it back together. Keys can collide and become damaged in some cases.
- Using too much cork grease. This may cause the different parts of your instrument to slide out of alignment or, in extreme cases, fall apart while playing. Remember, a little cork grease goes a long way.
- Failing to swab the instrument can lead to moisture buildup and damage. Keep your instrument as clean as possible when you’re not playing.
Conclusion
Taking good care of your instrument helps ensure you’ll play with a beautiful sound and that your instrument lasts long into the future. A quality musical instrument can last a lifetime with proper care and maintenance.
