Rap and hip-hop were popular for a lot of kids in my neighborhood when I was growing up—popular enough for a few to record themselves with flip phones and PC mics.
By the time I was 12 years old, there was always a digital audio workstation (DAW) on one of our household computers. Propellerhead Reason was installed on my Dad’s Lenovo. I always thought it was more professional than Fruity Loops, even though I never used either of them.
About four years ago, I officially started making beats. Reason stuck in my head, so I bought that along with a 32-key M-Audio MIDI keyboard. I still use the same equipment and DAW today along with a few extras I’ve added over time.
If you’re considering making music on a computer for the first time, this guide will give you an idea of the kinds of music production equipment you’ll need to get started.
1. A computer for music production
If you’re reading this on a relatively new computer, that’s really the only one you’ll need. When it comes to modern music production, the kind of computer isn’t what’s important—its specs are.
I recommend checking the minimum and recommended system requirements for your DAW of choice to know whether your computer is suitable to use.
Ableton, for example, has minimum requirements of 4 GB of RAM, a 64-bit i5 processor and an operating system of Windows 7 or Mac OS X 10.11.6 or later.
If your current computer matches those requirements, you can get a DAW now and consider upgrading later. Buying a computer specifically made for music production isn’t necessary, especially if you’re new to making music.
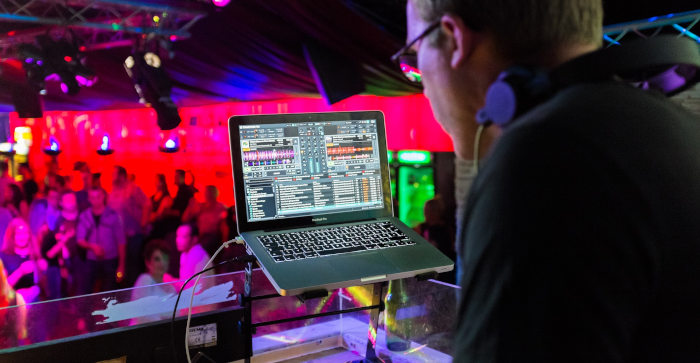
How much should you pay for a laptop for music production?
At the time of writing this, laptops in the $450-$500 price range meet the recommended requirements of most DAWs. Recommended requirements, which are higher than the minimum, are best for optimally running a DAW.
2. Music recording software
Ever wonder how people remix and sample popular songs that play on the radio? Ever wanted to make backing tracks to sing along to? Would you like to record your own acoustic covers and make a drum beat to go along with them?
A digital audio workstation (DAW) is the go-to tool for these and much more. A DAW is a computer software that lets producers create what they want to hear and shape their music and sounds in an incredibly unique way. An essential piece of solo music gear, a DAW also lets you make music on your computer without needing any physical instruments.
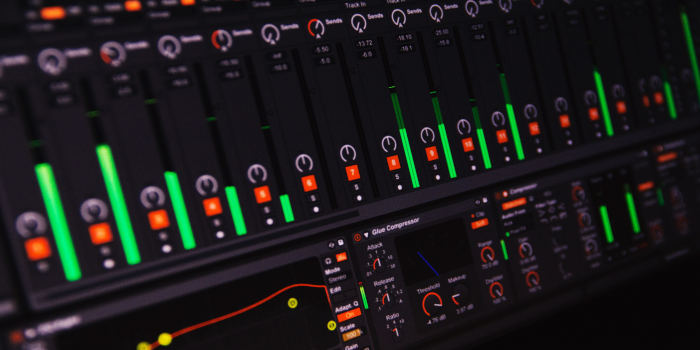
Ableton Live and Fruity Loops (FL studio) are now two of the most popular DAWs available. Ableton is popular for its looping feature that allows users to spontaneously make music. It also has a huge online community and a ton of free educational material available for learning how to use it.
Fruity Loops is popular for its simplicity and ease of use. FL studio displays its drum sequencer and piano roll on screen, making it easy to draw in melodies and drum patterns right away. And like Ableton, FL studio is great for beginners, and you can find dozens of online video tutorial guides to help you get started.
How important is your choice of recording software?
Some producers like Ableton for improv, for instance. Some like Reason for its realistic features. And others prefer Logic for its stock sounds or because they’re Mac users. The list of options goes on.
Neither of these software options is better than the other. Every DAW has its pros and cons. But they’re all useful tools for creating music.
How much does a typical recording software cost?
The latest version of most DAWs falls into the price range of $400-$750. If you already have an older version, it’s cheaper to upgrade from there than to buy the latest version outright.
Most DAWs also have a trial version available. Most producers find it’s best to research and find what they think they would like and try it out. The DAW is less important than what it’s used for and how.
3. Studio headphones
When it comes to options for audio output, studio monitors can be difficult for most people to properly set up. They require room treatment to give an accurate portrayal of sound. And normal computer speakers aren’t reliable for mixing audio. Headphones are often best for hearing a wide range of frequencies.
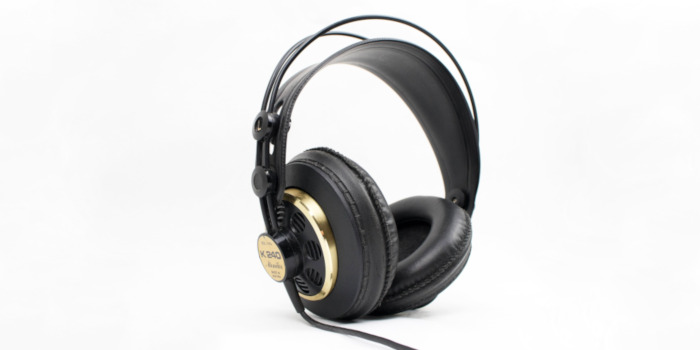
There are two types of headphones: closed-back and open-back. Closed-back headphones are over-ear headphones that isolate your ears and block outside noise. Open-back headphones do the opposite. They allow the producer to hear what’s going on around them.
How much will a decent pair of studio headphones cost?
If producing in a home studio, a pair of closed-back headphones will help you work easier without the distraction of any outside noise. A great pair of studio headphones can cost around $100-$200. Some good brands are Shure and Audio Technica.
4. Studio microphone
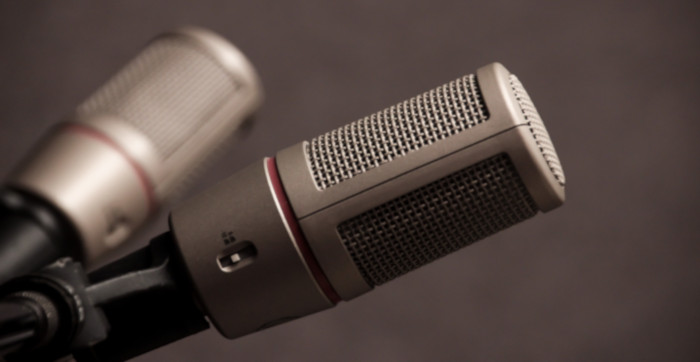
A microphone is one the most important tools for singers, rappers or any kind of vocalists to have. The many brands and types of microphones available can be overwhelming. Consider what you plan to record when choosing the appropriate mic to buy.
XLR condenser microphones are normally used for in-studio recording. Dynamic mics are more for live performances.
Condenser mics are used for recording delicate and detailed sounds. They require the use of an XLR cable and audio interface with phantom power of 48V. Phantom power is DC power of 48 volts (V) fed into a condenser microphone from an audio interface. There’s usually a switch or button on interfaces labeled “48V” to turn on the phantom power.
There are also USB condenser mics, which are usually a lot cheaper. They can be good for recording acoustic guitars and ukuleles or vocal samples.
The difference a quality recording microphone can make
A quality mic and well-prepared artist help limit the time you’ll need to spend processing the sound during the mixing stage. Recording with a cheaper mic can require more equalizing, compressing and/or noise gating to minimize unwanted background noise and have vocals sit well within a mix.
I recommend getting a Bluebird SL Large-diaphragm condenser mic if you plan to record and work with vocals often. This microphone usually costs $300 and there are similar ones for about the same price.
5. Audio interface
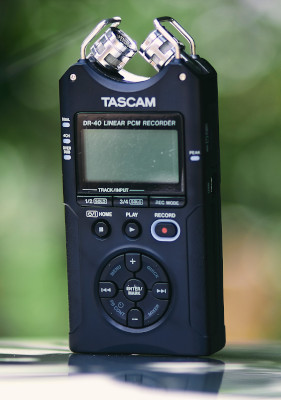
An audio interface is simply an external sound card for a DAW’s sounds. It’s required for low latency when playing through a (Musical Instrument Digital Interface) MIDI controller or outputting a live reference when recording vocals.
Latency is a delay in an audio signal and its output. It’s what occurs when vocals are picked up by a mic and the feedback sounds a few seconds after. Using an audio interface minimizes this issue.
You’ll need an interface like one of the Focusrite Scarlets if using an XLR condenser mic.
What can you expect to pay for an audio interface?
An audio interface is also necessary for recording with studio monitors and recording guitars and other instruments straight into a DAW. The Focusrite Scarlett 2i2 costs $160 and models with additional inputs and outputs will rise in price from there.
6. XLR cables
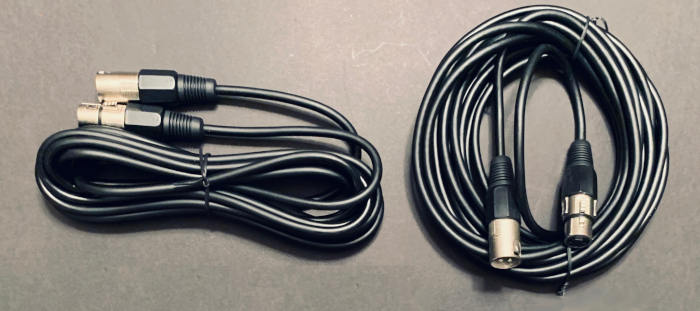
XLR cables are necessary for capturing audio signals from microphones and electrical instruments such as guitars. Standard XLR cables are usually black and have silver connection points. Higher quality cables usually have gold connection points.
How much do XLR cables cost?
XLR cables are relatively inexpensive. You can generally find them for sale online or at a local music store for about $15. The difference in sound between standard and higher quality cables can be subjective. But higher quality cables are often more durable.
One of the most important things to know about XLR cables is how to wrap them properly. There are resources for how to maintain them, and again, pricier cables can last longer. But you can’t go wrong with a $15 cable.
Feeling ambitious? Here’s some other production equipment to consider
The six “essentials” above cover what most music producers will consider necessary equipment for those just starting out. But if you have the budget for a bit more comfort or quality in your mixing experience, there are a few more items that you might want to consider.
MIDI controllers
There are many different MIDI controllers available, each with different features. But they certainly aren’t necessary for beginner music producers. Notes and drum patterns can be drawn in on the piano roll and sequenced in a DAW’s drum machine without the need for a MIDI.
However, if you already play piano or drums, you’ll probably want a MIDI controller. I suggest buying one with at least 32 keys and highly recommend those with 49 keys or more and a row of at least 8 drum pads.
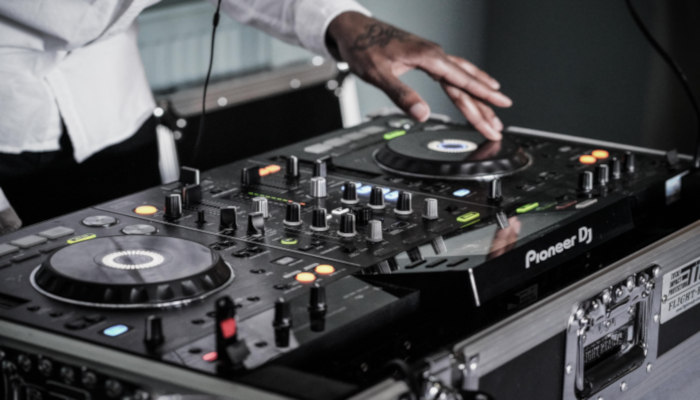
How a MIDI controller enhances your production game
Using a MIDI controller lets you create a more human feeling within your music and avoid sounding too precise. And they can be great for live performances and playing with others. MIDI controllers are also great for automation.
Automation refers to a technique of changing sounds or adding effects over the course of a track as it plays. For example, you can suddenly change the pitch of a vocal or mute part of a drum pattern.
The knobs, mod wheels and pitch shifters on a MIDI controller let you control the parameters on the instruments and effects in a DAW in real time. A controller can bring a lot of fun and creativity into live performances and making beats in general.
I started out with a 32-key MIDI controller and still use it at home today to make beats and practice. It’s small enough to fit in my bookbag. And you can find similar MIDI controllers with a starting price under $100. Those with more keys and features can cost more.
Studio monitor speakers
Studio monitors are great for mixing and making music with consistent levels across a wide range of sound systems. However, it would be challenging for beginners to use them with accuracy without an acoustic-treated room. Most beginners will be better off using studio headphones.
There are two kinds of studio monitor speakers: near-field and far-field. Near-field monitors are usually placed 2-4 feet away from the listener and offer more detail with less room sound.
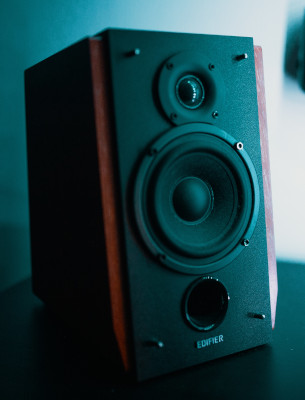
Far-field monitors are placed about 10 feet away from the listener and give more room sound and a general profile of all the frequencies in a track.
Sound reflected from the walls of an untreated room can be a distraction and can negatively impact recording, regardless of monitor type. Acoustic treatment helps. But treating a room generally isn’t worth the time and money for most music producers just starting out.
Still, most producers who work in home studios typically use a single pair of near-field monitors. KRK Rokits are a typical example. A pair of the newest G4 series can cost about $240.
Pop filters
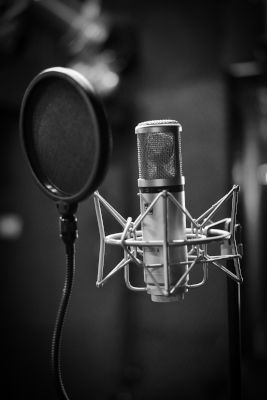
Pop filters are great for minimizing vocalists’ “plosive p” sounds. Plosive refers to how some consonants can burst, pop or stop airflow. Microphones will often pick up these sounds in a recording instead of a clear “p” sound. Pop filters help to “filter” these sounds out.
Pop filters won’t break the bank. For example, the Nady MPF-6 costs just $12 on Amazon. You can also go to a local music store to see a wide selection in person. Though not essential, I highly recommend getting a pop filter if you’re planning on recording vocals.
Conclusion
Here we’ve covered the most important tools for you to break into the world of music production. This guide is not meant to be an exhaustive list of all the equipment producers can buy to make music. You may need to invest in other equipment beyond what’s contained in this list, depending on what you want to accomplish.
Want to make piano-based music? You’ll want a good keyboard or MIDI controller. Want to perform live without spending a lot of time behind a screen? Consider getting an Ableton Push (when you can afford it).
At any rate, focus first on the honing your craft and making music. Practice playing instruments, songwriting and mixing. Learn song structure, music theory and synthesis.
As people often say, it’s the person behind the tools, not the tools themselves, that make the art.
